To free up disk space on Mac, go after the biggest offenders first — old downloads, forgotten disk images, caches, and media libraries — before you touch anything you're unsure about. Most people recover 20–100 GB in under half an hour this way.
Start with the built-in view
Open → System Settings → General → Storage. The colored bar shows the rough split between apps, documents, system data, and the rest. Click the ⓘ next to each category to see individual files and delete them in place. The Recommendations section here can offload the iOS backups and old Mail attachments that quietly eat tens of gigabytes.
The steps
- Empty the obvious. Clear the Downloads folder, delete
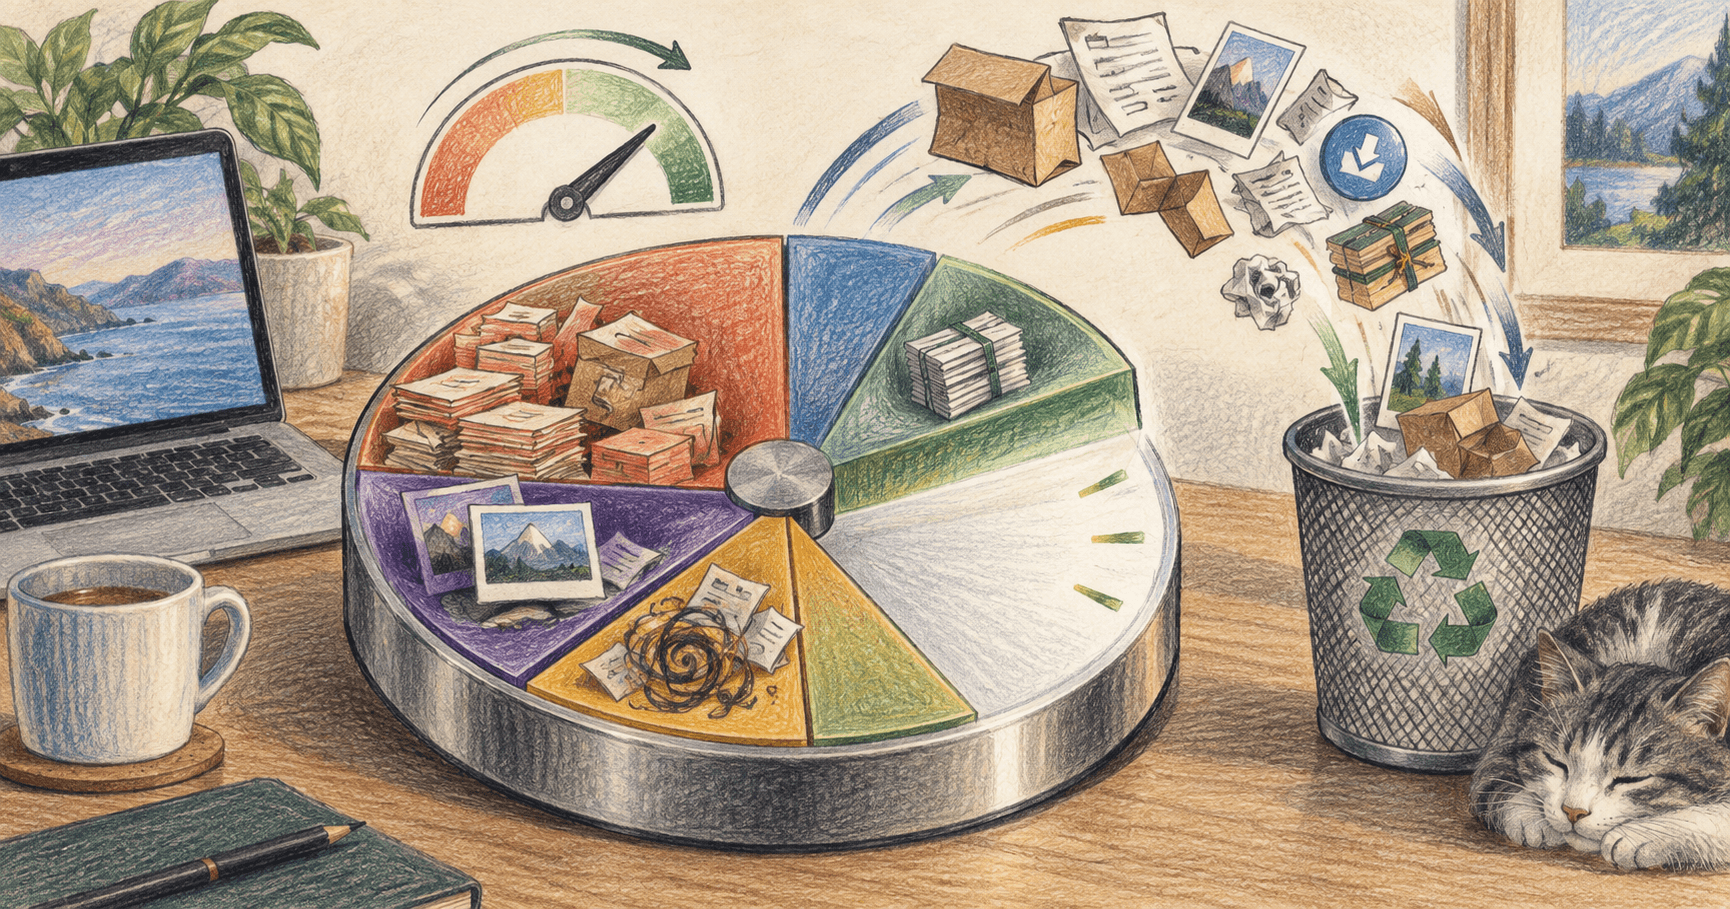
.dmgand.zipinstallers you've already run, then empty the Trash (it still counts until you do). - Find the hidden bulk. A visualizer like DaisyDisk ($9.99) scans the whole drive and draws every folder sized by how much space it uses. A 40 GB Xcode cache, an old virtual machine, or a runaway log folder shows up in seconds — things Finder never surfaces.
- Move media off the internal drive. Photo and video libraries are usually the single largest item. Relocate them to an external SSD and point the app at the new location.
- Clear app caches selectively. Browsers, chat apps, and design tools rebuild their caches automatically. Delete them through the app's own settings when possible rather than digging in
~/Library/Caches. - Restart. macOS purges local snapshots, swap, and temp files on reboot — sometimes several gigabytes on its own, and it's the safest step here.
Utilities · $9.99 · one-time
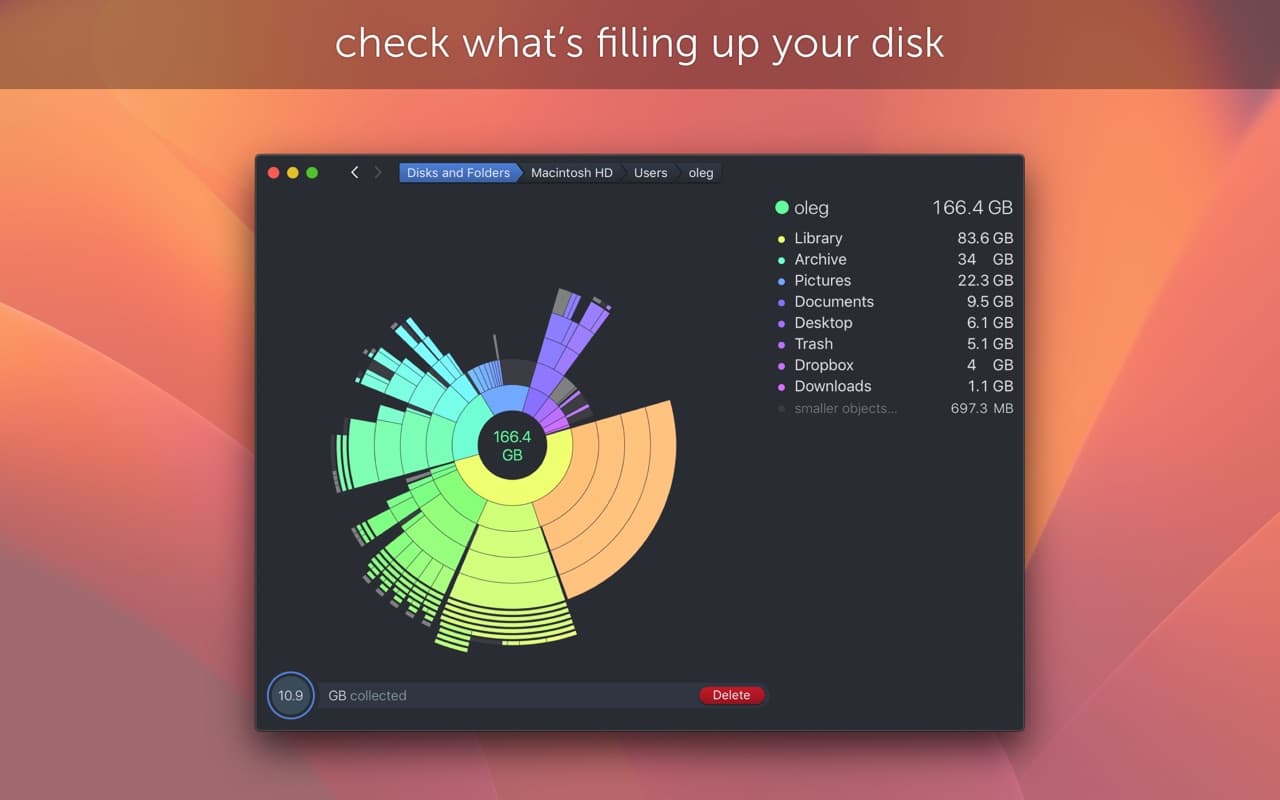
Find what is eating your disk with a scan that turns your drive into an interactive sunburst map you can drill into and clean up.
What not to delete
Leave anything inside
/System,/Library, and unfamiliar~/Libraryfolders alone. "System data" being large is normal — it includes caches macOS will trim itself. Removing the wrong file there breaks apps or the OS, and it rarely frees much.
DaisyDisk and other cleanup tools are in Utilities.