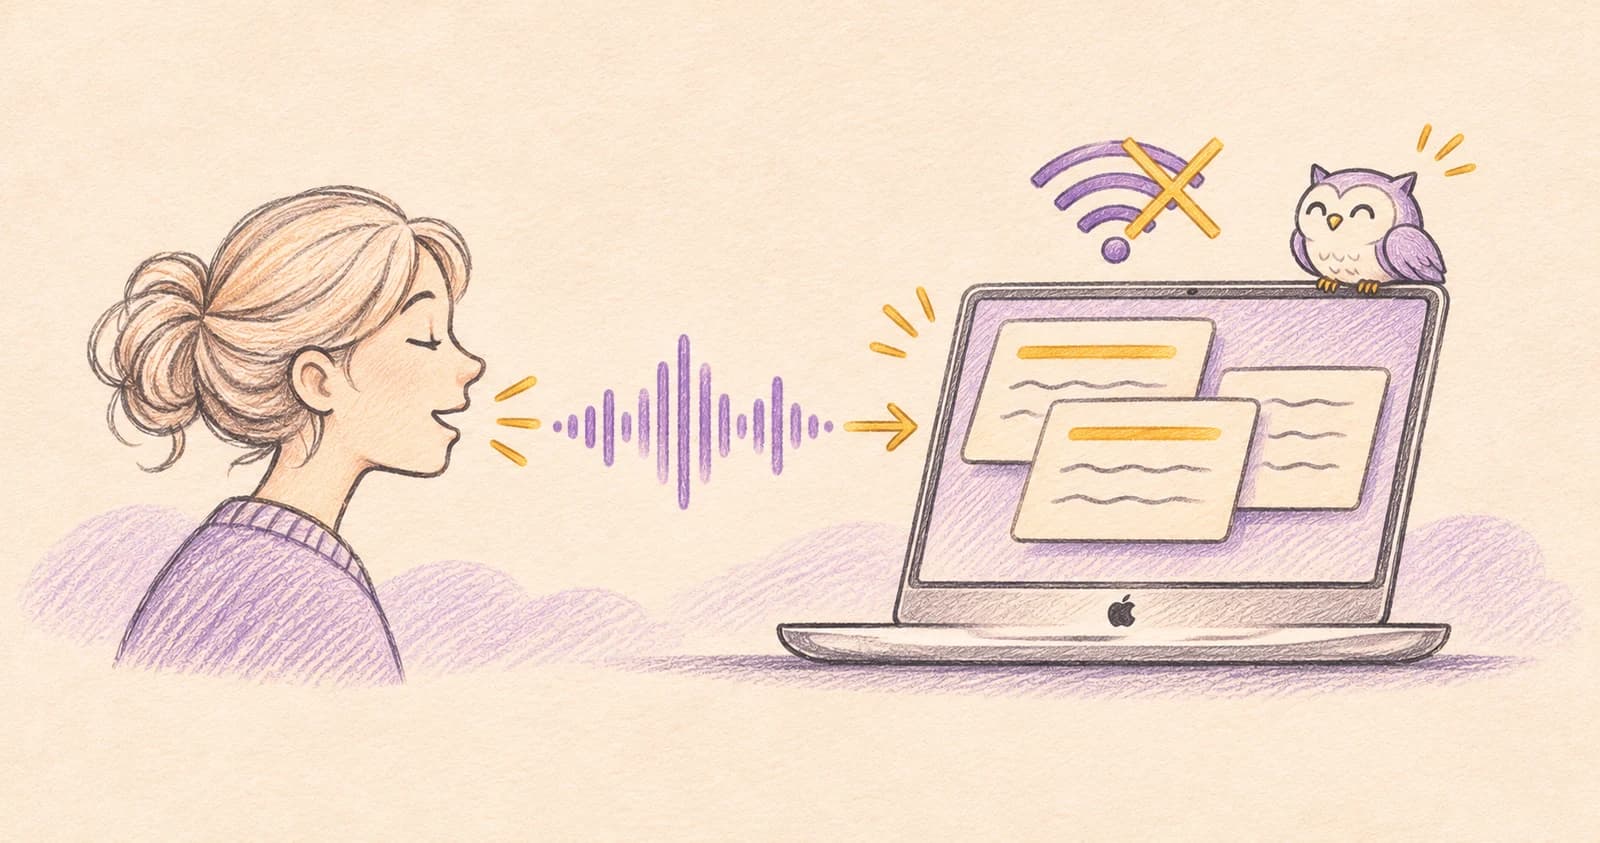

To copy text from an image on Mac, open it in Preview, select the words, then choose Copy Text. This uses Live Text, which is built into macOS. For a paused video or text inside another app, a screen OCR tool saves you the extra screenshot step.
Someone sent you a screenshot of an address? Start with Preview. You shouldn’t need to pay just to copy a few lines.
Bottom line
Open a saved image in Preview and try Live Text first. For text anywhere on screen, TextSniper lets you draw a box around it and copy the recognized words.
On this page
Copy text from a screenshot for free
- Open the screenshot in Preview.
- Move the pointer over the words and drag to select them.
- Control-click the selection and choose Copy Text.
- Paste into Notes or your document and check the result.
If dragging draws a rectangle instead, choose Tools → Text Selection and try again. Live Text availability depends on language and region. Apple’s Live Text instructions
For an occasional screenshot, that may be all you need. There’s no reason to add a separate app until the extra steps start getting in your way.
Can’t select text in Preview?
Try these before installing anything:
- A box appears instead of highlighted words: choose Tools → Text Selection.
- Only some words are selectable: try the original image rather than a small messaging-app preview. Blurry or tiny letters may not be recognized.
- A video frame is covered by controls: pause, wait for the controls to disappear, then take the screenshot.
- The result mixes two columns: select each column separately. OCR means text recognition; it doesn’t reliably preserve page layout.
If none of the text responds, check the language and region limitations in Apple’s Live Text guide. An image containing handwriting or decorative lettering may also need manual correction.
Grab text directly with TextSniper
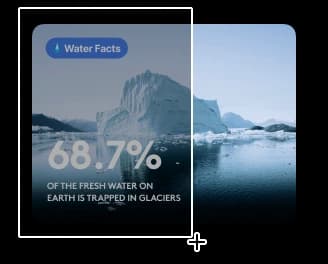
TextSniper is useful when the text is visible but you can’t select it: a slide, an image inside another app, or a paused video.
- Open TextSniper and grant the screen-capture permission it requests.
- Press Shift–Command–2, its default capture shortcut.
- Drag around only the words you want.
- Press Command–V in the destination app to paste the result.
That sequence comes from TextSniper’s own guide. The shortcut is customizable if something else already uses it.
For a video, pause on the clearest frame
Pause before opening the capture tool. Let the player controls disappear, then select the text. If you prefer the free route, take a screenshot with Shift–Command–4, open it in Preview, and use the steps above.
Choose a higher video resolution if the lettering is blurry. Making a low-resolution frame bigger doesn’t restore detail that wasn’t there.
Already use CleanShot X? Check its Capture Text (OCR) feature before buying another utility. CleanShot’s feature list
Check these before using the copied text
- Code: compare quotes, brackets, hyphens, and indentation with the original. Don’t run a command until you’ve read it.
- Numbers: check
0versusO, and1versusl. A single wrong character can ruin a reference number. - Columns: capture one column at a time if lines arrive in the wrong order.
For example, a reference such as INV-10O1 contains both a zero and the letter O. Compare it character by character before searching for it or sending it on. A plausible-looking result is easy to trust too quickly.
Text recognition gets you an editable draft. It doesn’t promise the original layout, and it can misread symbols even when the words look fine. For several pages of scanned documents, use a document OCR workflow rather than capturing each screen.
Need to capture the whole page first? See how to take a scrolling screenshot.