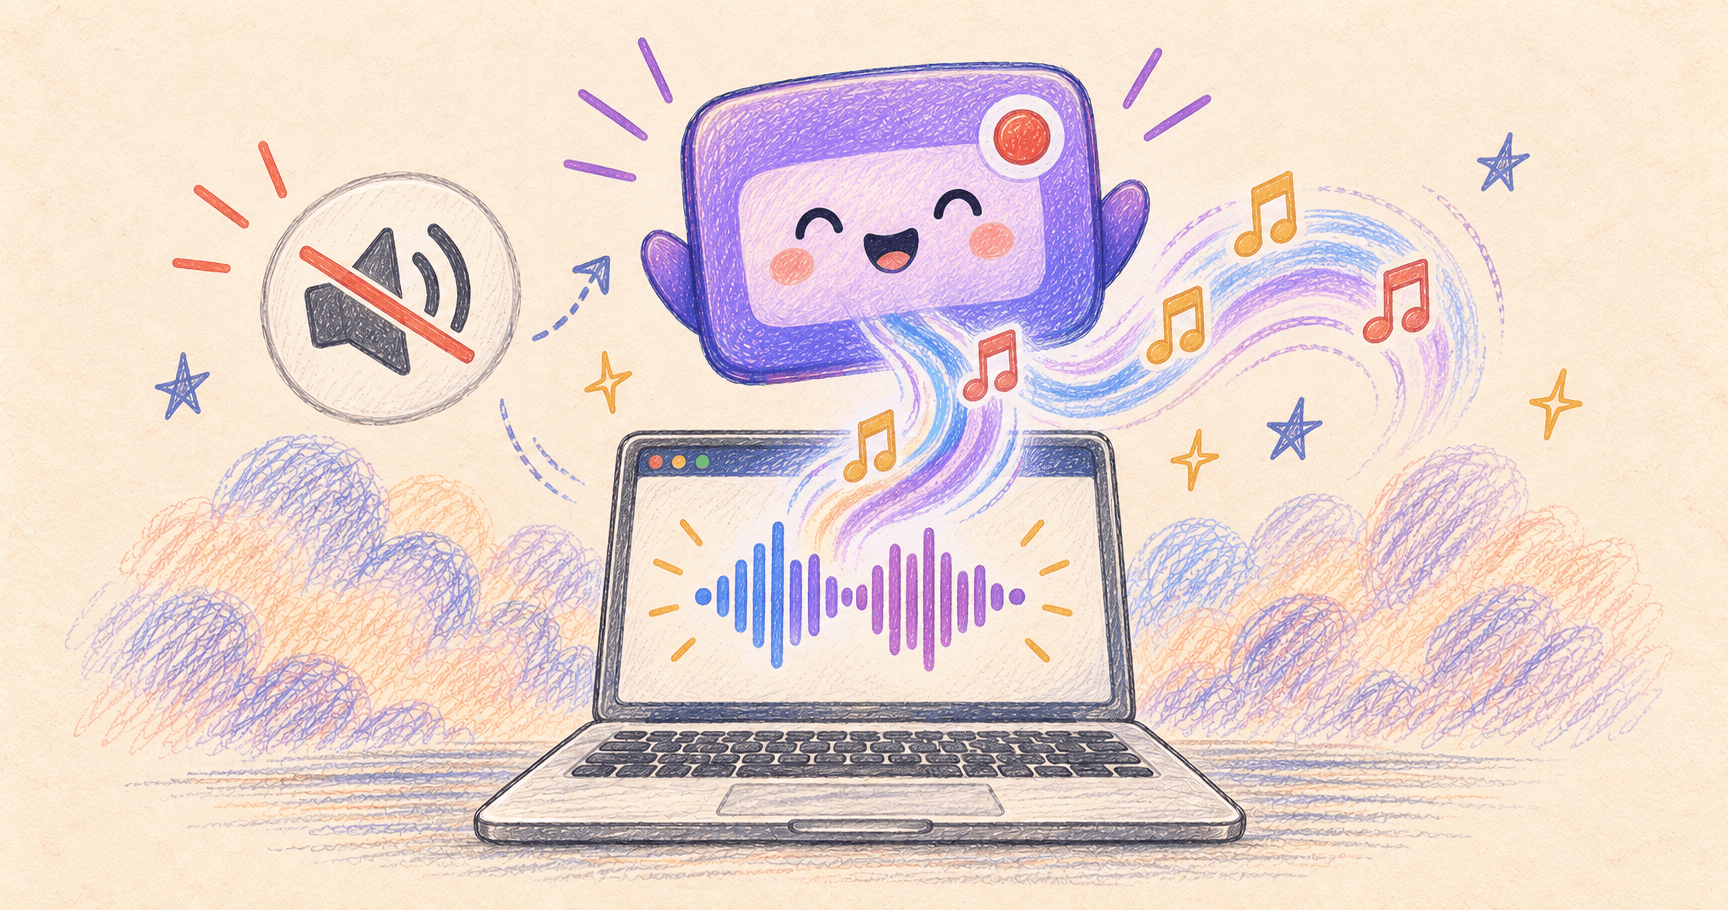
A Mac screen recording can be silent because system audio and microphone audio are separate settings. Choosing your microphone records your voice; it doesn’t automatically capture the video, music, or app sound playing on the Mac.
Before redoing a long recording, check which source is missing and make a ten-second test.
Bottom line
On macOS 27 or later, try Screenshot’s Include System Audio option. On earlier versions, use a recorder with internal-audio capture, such as QuickRecorder.
On this page
Check your macOS version first
Open Apple menu → About This Mac. On macOS 27 or later, Apple documents a built-in Include System Audio option. On Tahoe 26, Sequoia 15, or Ventura 13, use a recorder with its own internal-audio capture, such as QuickRecorder.
First, choose the sound you actually want
| What the viewer should hear | Enable |
|---|---|
| Your explanation | Microphone |
| Music, a video, or app sounds | System / computer audio |
| Your voice over a demonstration | Both; wear headphones to avoid echo |
Turning up the speakers and recording them through the microphone also picks up the room. It’s a poor substitute for capturing the app’s sound directly.
Try the built-in recorder first
Press Shift–Command–5, select a recording mode, and open Options. If you see Include System Audio, enable it. Choose a microphone too if you’re narrating.
Apple documents system-audio capture for macOS 27 and later. On older versions, choosing a microphone alone won’t capture internal audio directly. Opening QuickTime’s New Screen Recording doesn’t add a missing audio option: on recent Macs, it opens the same Screenshot controls. Apple’s recording guide
Record internal audio with QuickRecorder
QuickRecorder can capture app audio without an extra audio driver on macOS 13 or later. Its minimum requirement for the app itself is lower, so check the audio requirement before installing. QuickRecorder’s requirements

- Open QuickRecorder and choose the screen, window, or app to record.
- Enable its system-audio capture. Enable the microphone separately if needed.
- Grant the requested recording permissions in System Settings → Privacy & Security. Reopen the recorder if macOS asks.
- Play some sound in the target app and record ten seconds.
- Stop and listen to the saved file before recording the full session.
For that test, say a sentence while the app plays sound, then pause your voice for a moment. You should hear both sources, with the app still audible during the pause. Check the saved file with headphones so room sound doesn’t fool you into thinking it was recorded.
Photo & Video · Free & open source
A lightweight screen recorder built on ScreenCaptureKit — record a screen, window, app, or region with system audio, no kernel extension required.
Already own CleanShot X? Its recorder also supports computer audio and microphone capture. You may already have everything you need. CleanShot’s recording features
Still silent? Check these three things
- Voice missing: check the selected microphone and the recorder’s Microphone permission. A connected headset may have changed the input.
- App sound missing: check system audio is enabled, the source app isn’t muted, and the selected capture includes it.
- Only one service fails: try a local video file. Some apps restrict recording; Apple specifically notes that the Apple TV app may prevent window capture.
Can you recover audio from a silent screen recording?
First play another file to check your speakers, then open the recording in QuickTime Player. Use Window → Show Movie Inspector to look for audio information, as described in Apple’s Movie Inspector guide. If the file has audio, try another player and check the selected output device.
If no sound was captured, a volume boost or format conversion can’t recreate it. You’ll need to record again or add a separate audio file if you have one. Do the ten-second test before the second attempt.
Need a silent, looping demo instead? Here’s how to turn a recording into a small GIF.